ExplodeView Tutorials
Eight guided walkthroughs, each with numbered steps and real screenshots. New here? Start with #1 — it uses the built-in sample assembly, no file of your own required.
Your first exploded view
Go from a blank browser tab to a fully exploded, rotatable assembly using the built-in sample — the fastest way to see what ExplodeView does.
-
Open the appGo to explodeview.com/demo and, on the welcome screen, either click Take the guided tour for a narrated 11-step walkthrough, or pick Pillow-block shaft assembly under "Example models" to jump straight in.
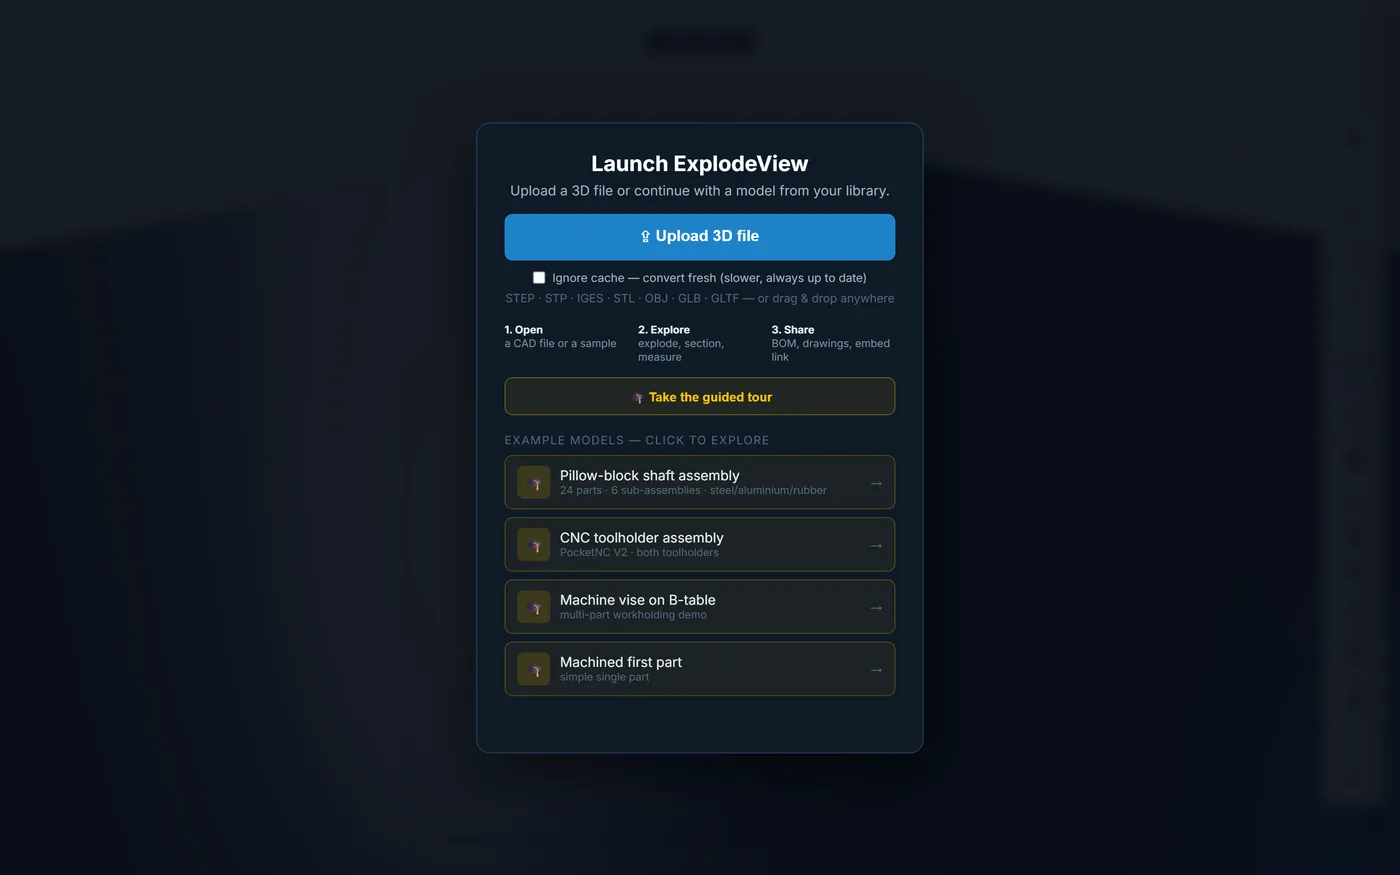
Welcome screen — four bundled assemblies load instantly, no conversion wait. -
Look aroundLeft-drag to rotate, right-drag to pan, scroll to zoom. Click any part to select it; double-click to zoom to it.
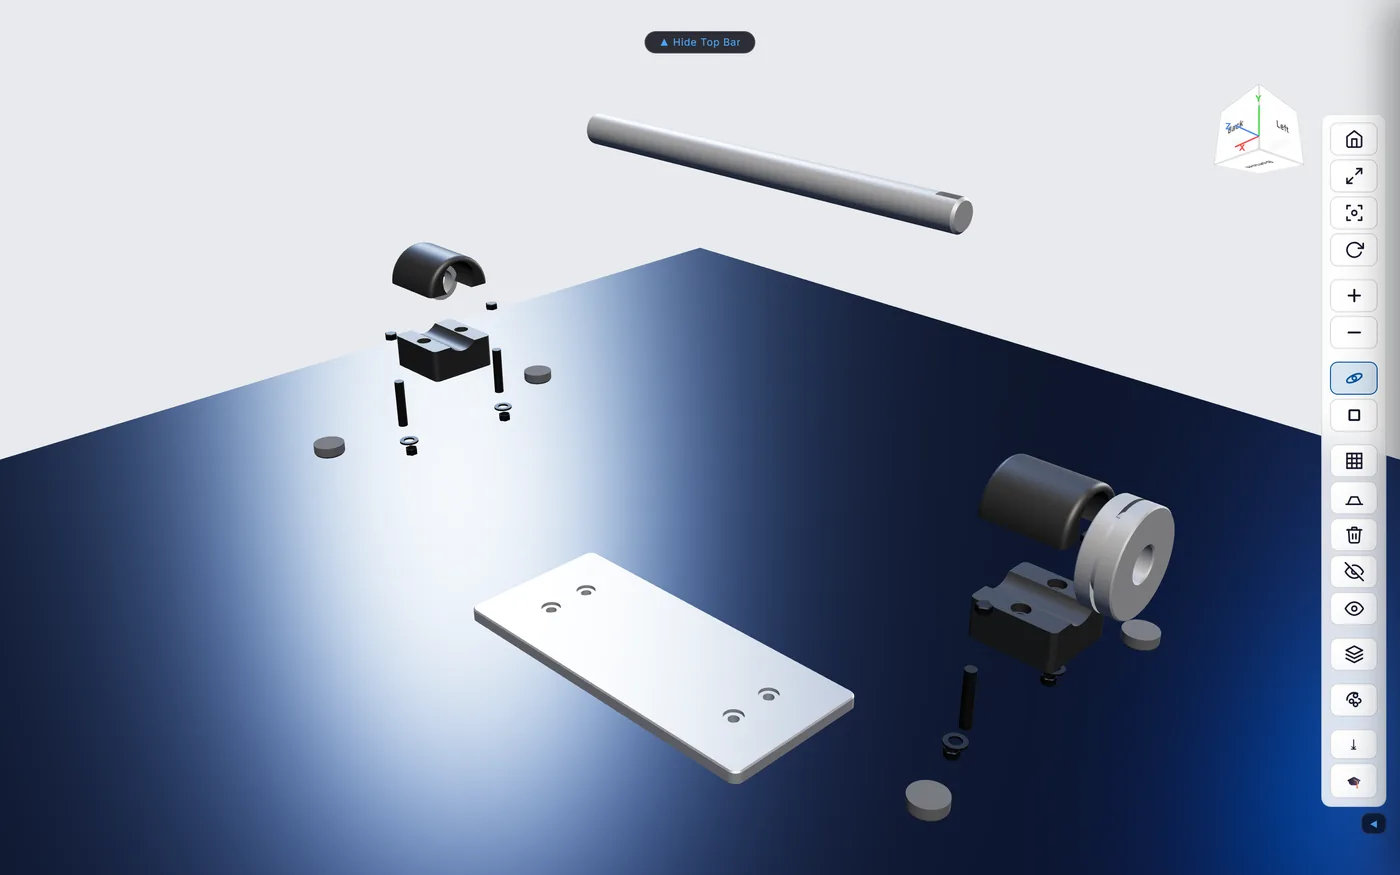
Loaded and ready — a 24-part pillow-block shaft assembly in steel, aluminium and rubber. -
Explode itClick + in the right-hand rail (or press
E) repeatedly to pull the assembly apart step by step; − brings it back together. Fit to Frame (the corner-brackets icon) re-centers the camera after a big explode.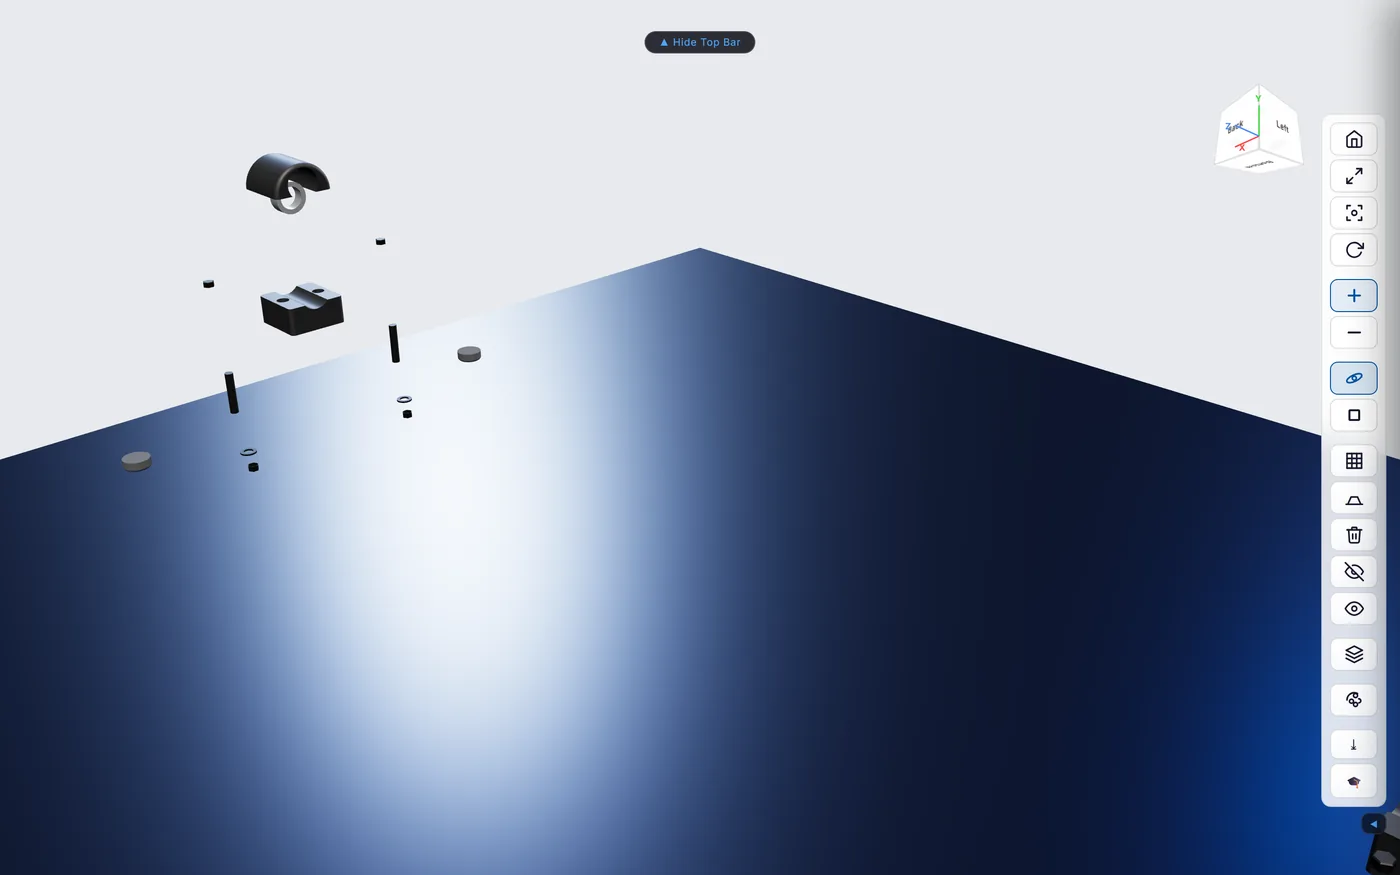
A few clicks of + is usually enough to see how everything fits together. -
Open the treeClick Tree in the View tab (or press
T). Every part and sub-assembly is numbered like a drawing — click any row to select and frame that part.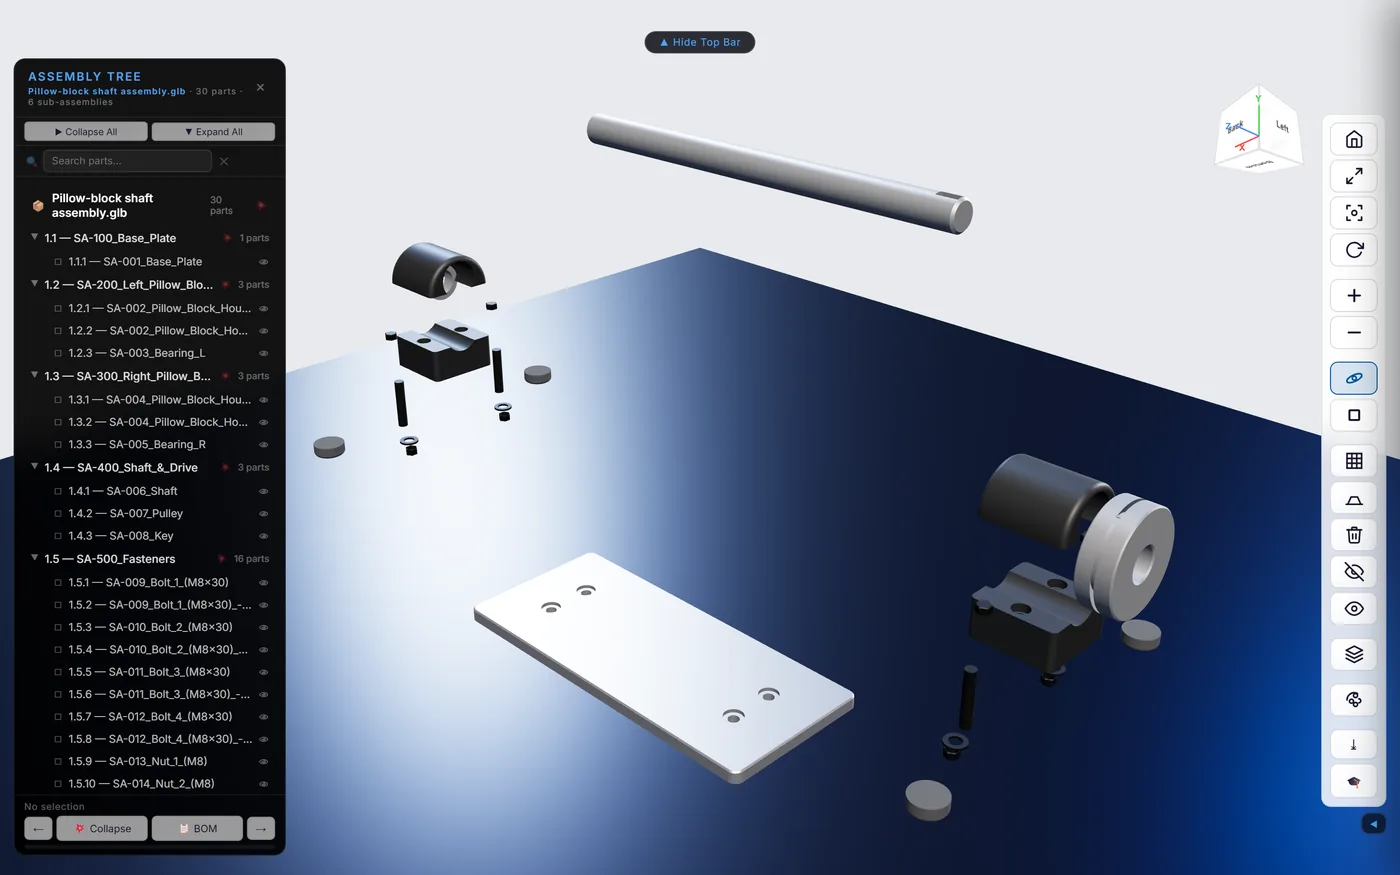
The tree mirrors the model's real sub-assembly structure.
Import your own STEP file
Load a real assembly you exported from your CAD system.
-
Check the sizeUnder 40 MB works straight in the browser. Bigger files need the desktop app, which converts locally with no size cap in practice — see User Manual §2.
-
UploadClick Upload 3D file on the welcome screen, or drag the file anywhere onto the page. STEP, STP, IGES, STL, OBJ, GLB and GLTF are all accepted.Re-converting? Tick Ignore cache — convert fresh first if you've changed the source file since the last import — otherwise ExplodeView reuses its cached conversion.
-
Wait for conversionA progress indicator tracks the conversion. First-time conversion of a large assembly can take a while; reopening it later is instant (it's cached as GLB in the browser).
-
Confirm the tree looks rightOpen Tree (
T) and check part names and sub-assembly grouping match your CAD structure. STL/OBJ imports won't have assembly structure — everything else still works.
Annotate with hotspots + Hotspot Builder export
Turn a viewer into a labeled, clickable product diagram — then export it as a drop-in embed.
-
Open Hotspot BuilderSwitch to the Create tab and click 🎯 Hotspots. A right-hand panel opens with Place Hotspot and Hide/Show tools.
-
Place a hotspotClick + Place Hotspot, then click anywhere on the model. A numbered marker drops at that point and a card appears in the panel.
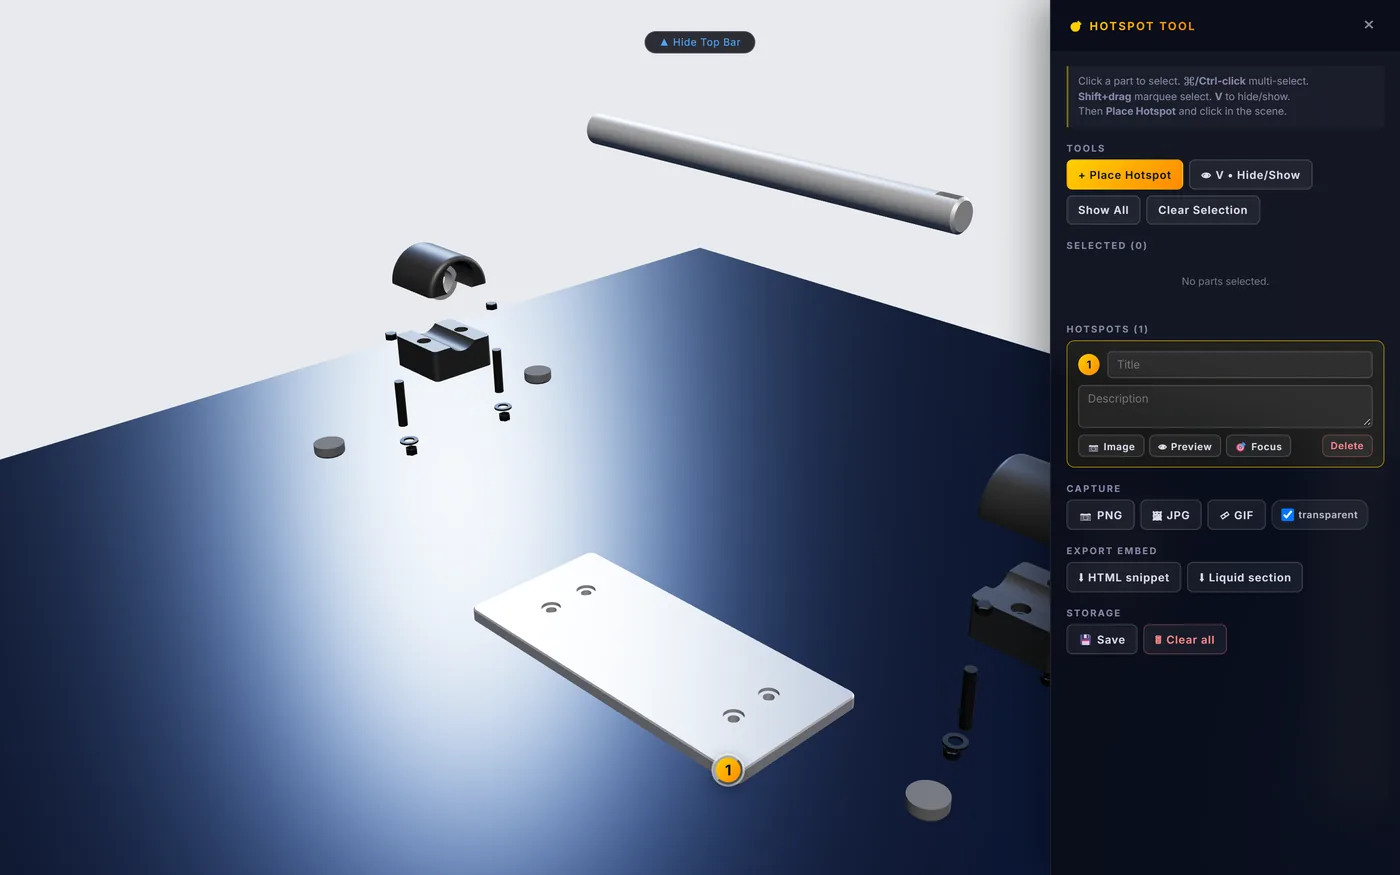
Hotspot #1 placed — now describe it. -
Describe itFill in Title and Description for the hotspot; Image attaches a photo. Repeat for as many points as you need —
⌘/Ctrl-clickselects multiple parts at once,Shift+dragmarquee-selects, andVhides/shows the current selection. -
Save and exportClick Save to persist the set to this browser. Under Export Embed, choose HTML snippet or Liquid section and paste the result into your product page — or use Capture (PNG/JPG/GIF, optionally transparent) for a static image instead.
Photoreal rendering & exporting images/GIF/video
Get a polished still image, a looping GIF, or a WebM video out of the viewer.
-
Set real finishesClick View → Materials. Select a part (or several), click a preset — Steel, Aluminum, Black Oxide Steel, Brass, Copper, ABS, Rubber, Glass, Carbon Fiber, Titanium, Wood — to apply it; with nothing selected, a preset applies to the whole model. Reset materials undoes it.
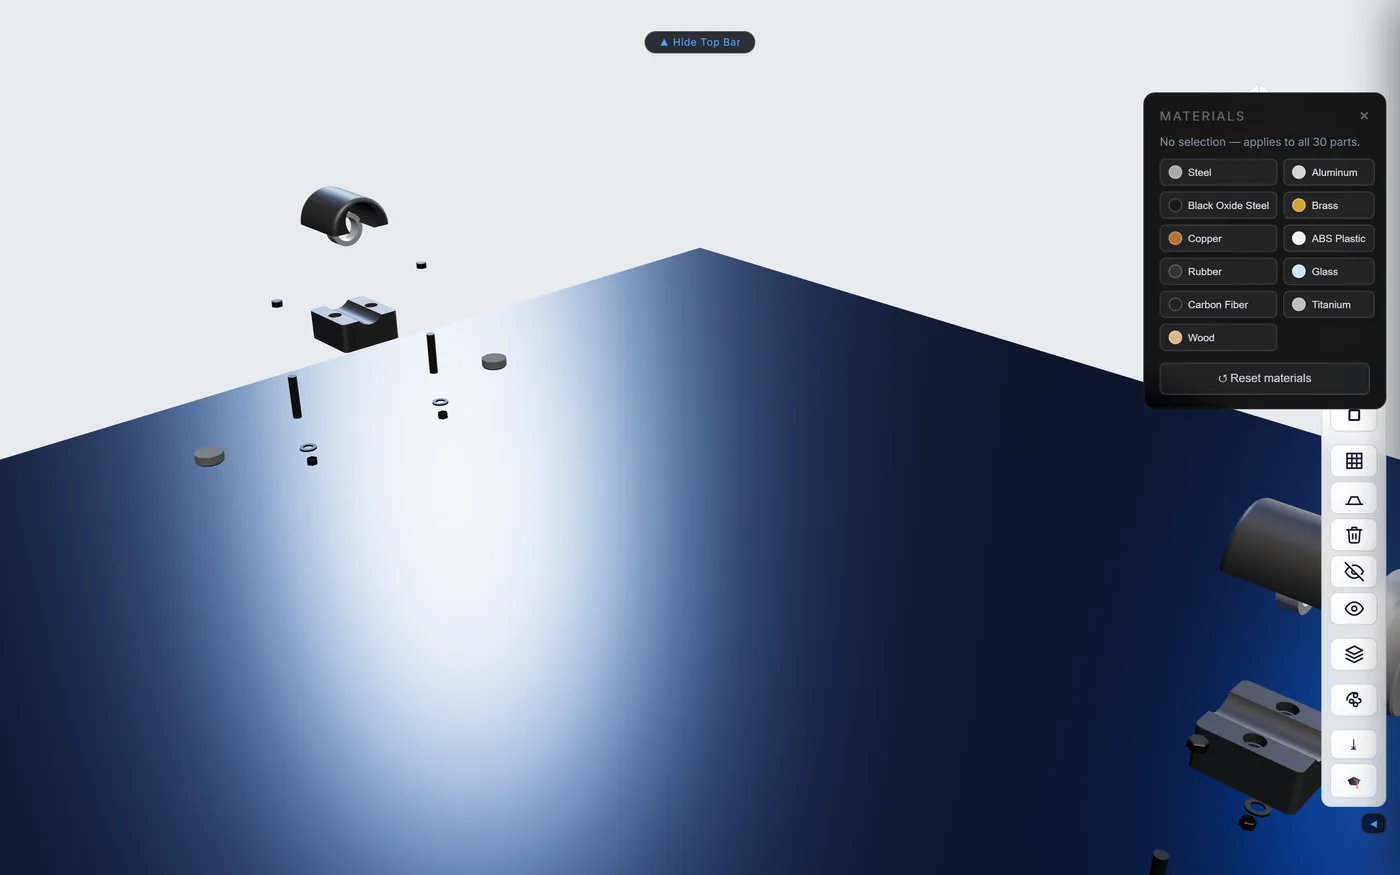
View → Materials — 11 presets, applied live. -
Frame the shotRotate/zoom to the angle you want, and consider View → Blueprint for a clean technical look instead, or leave the PBR shading from the step above for a realistic product shot.
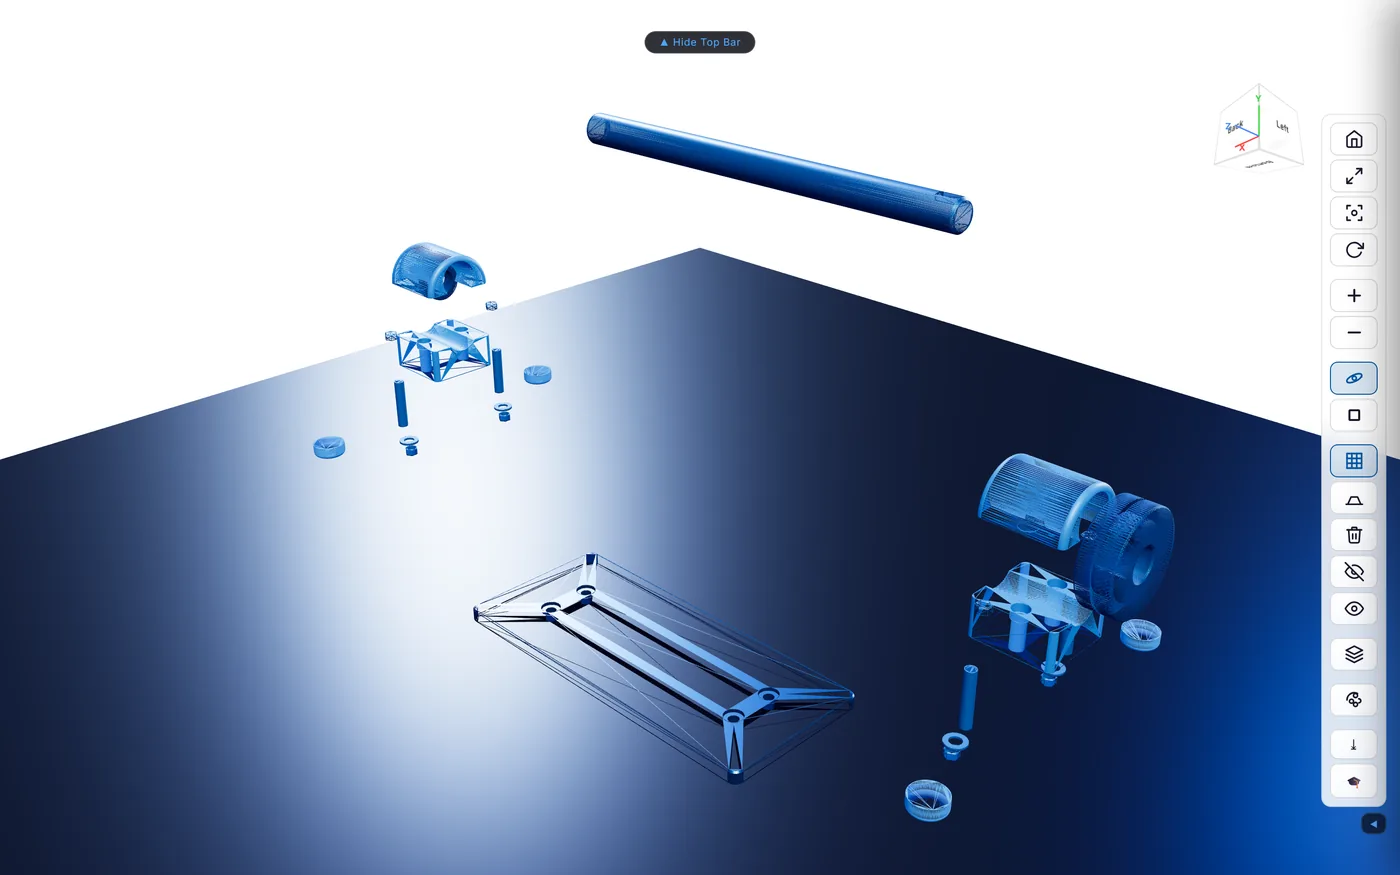
Blueprint mode — one click, no setup. -
Still imageSwitch to the Export tab, click Screenshot (or press
S), pick PNG/JPG/WebP/TIFF and a resolution up to 4×.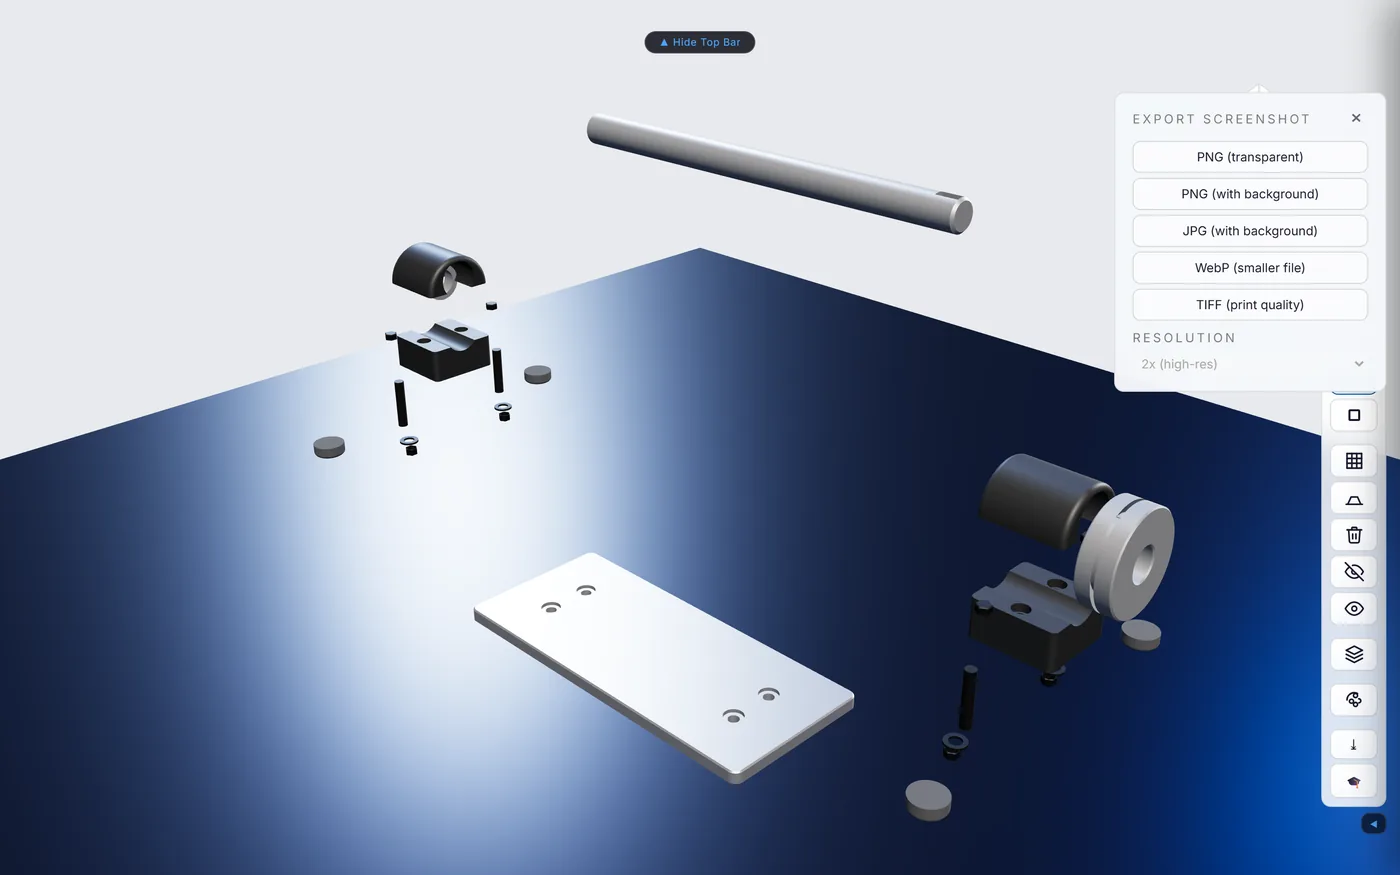
Export → Screenshot. -
GIF or videoClick Record, set a duration, and choose GIF or WebM — it captures a smooth explode → orbit → collapse sequence automatically.
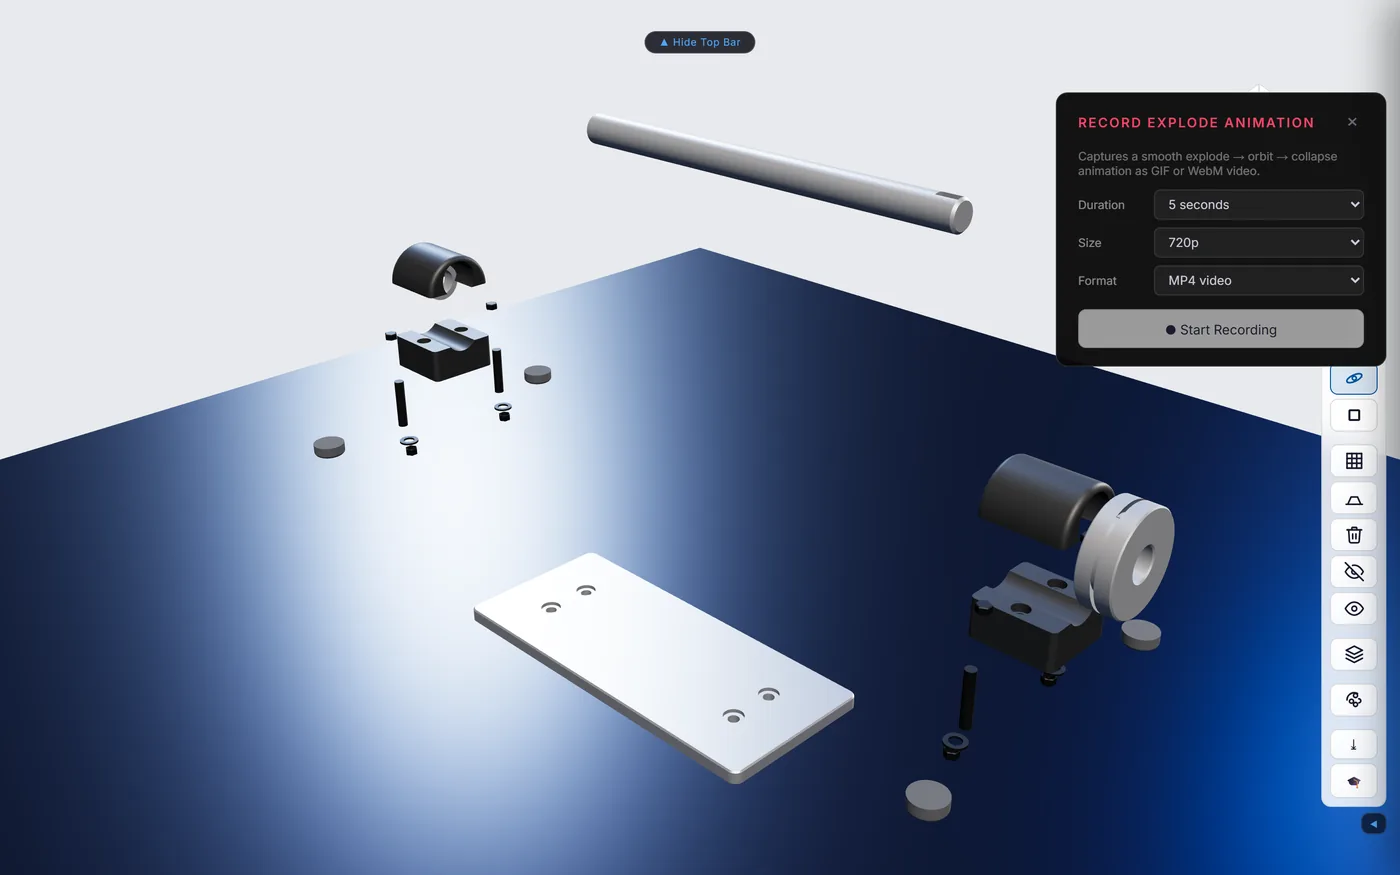
Export → Record. -
Want AI-generated backgrounds instead?That's the AI Render tool, one tab over — see Tutorial 5.
AI tools walkthrough (with key setup)
Connect your own free Gemini key once, then generate photoreal scenes and chat with an AI about the loaded model.
-
Get a free keyOpen aistudio.google.com, sign in, and create an API key. It's free for the default Nano Banana model at the time of writing.
-
Open AI Render and paste it inSwitch to AI Tools → AI Render. Under API Key, paste the key — it's saved to this browser's storage only, never sent to ExplodeView.
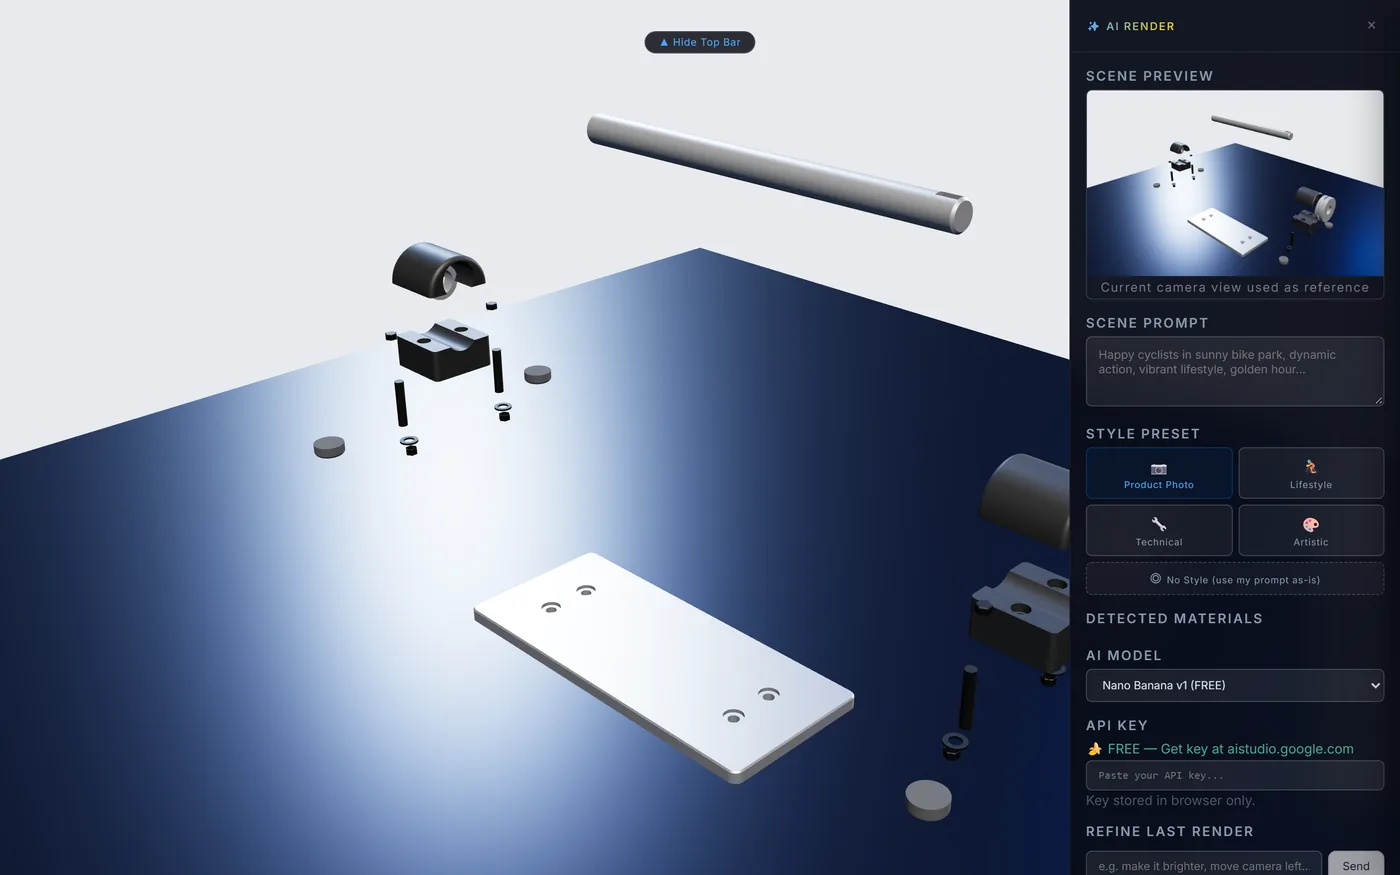
Scene Preview uses your current camera angle as reference for the AI. -
Describe the sceneType a prompt (e.g. "on a workshop bench, soft studio light") or pick a Style Preset — Product Photo, Lifestyle, Technical or Artistic — then Generate Render.
-
Try the chat assistantClick Chat on the same tab. Without a key it answers basic part/assembly questions offline; with your Gemini key in place it holds a full natural conversation about the model.
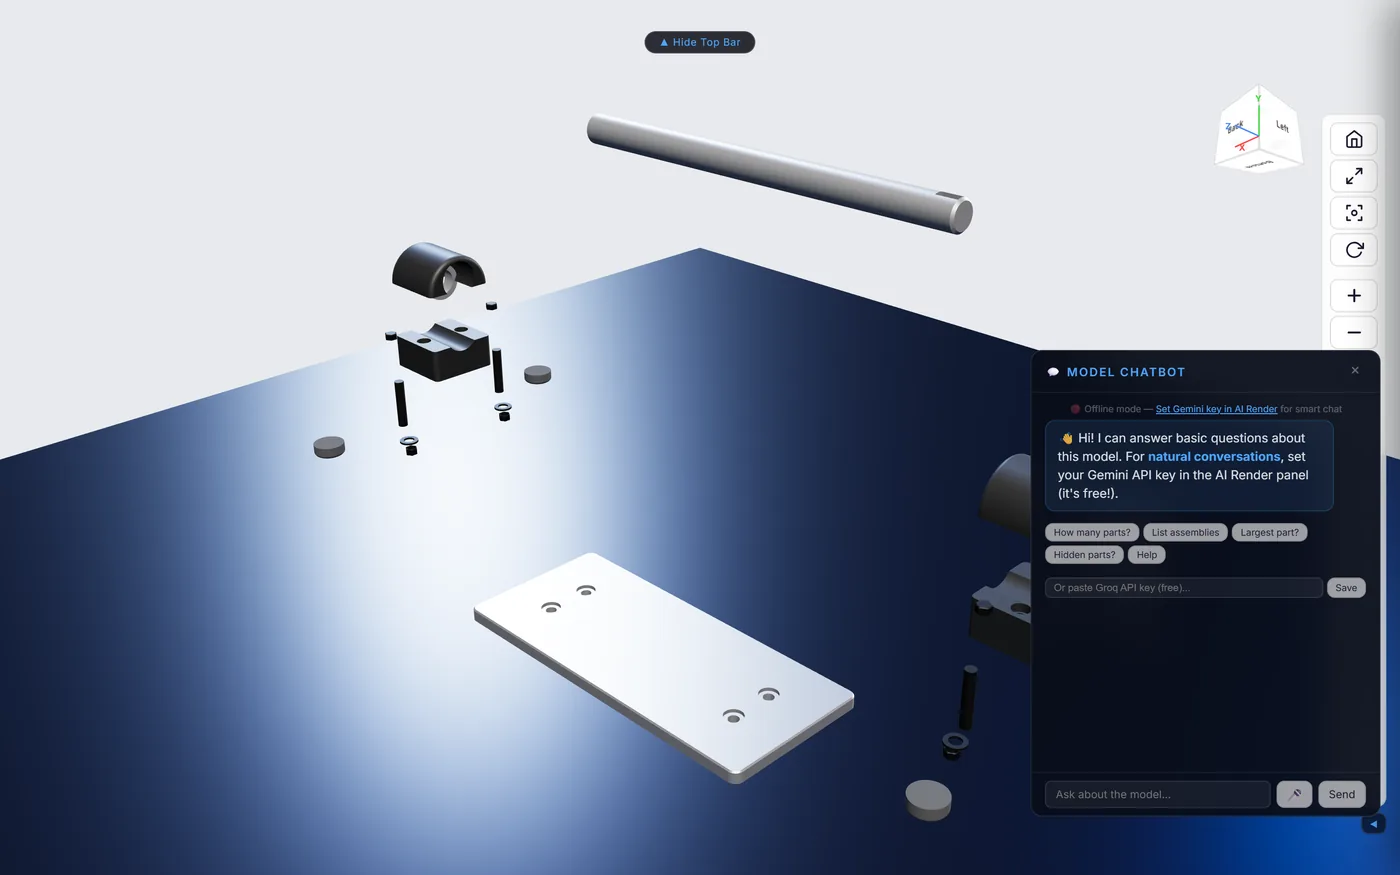
Offline mode still answers "how many parts?" and similar — add a key for more.
Embed on your website / share a link
Get a live link or a paste-in embed code for the model you're viewing.
-
Open ShareExport tab → Share.
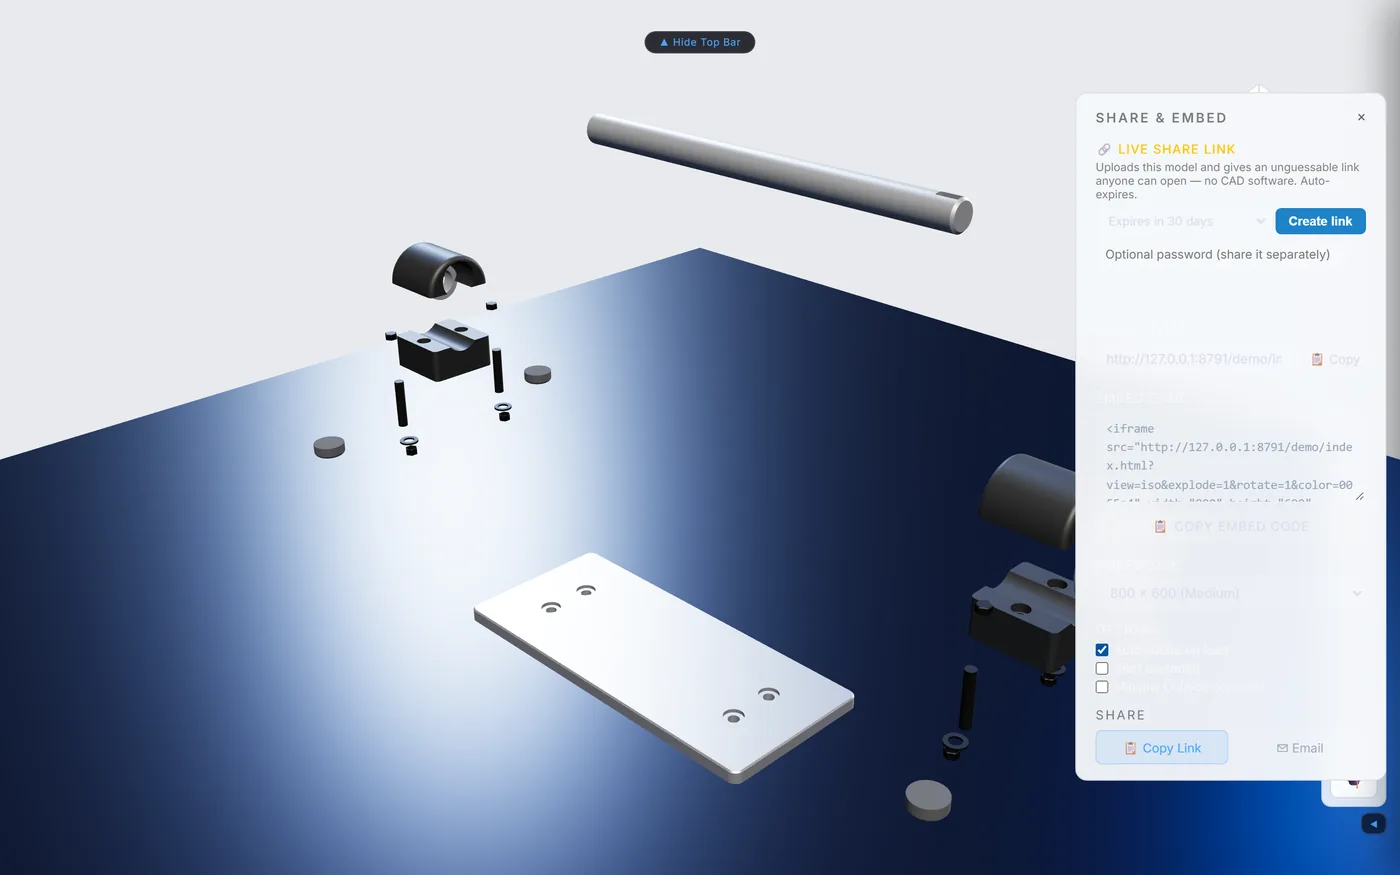
Share & Embed. -
Get a linkSet an expiry (default 30 days) and an optional password, then Create link. It's unguessable — no login required to open it.
-
Or copy the embed codePaste this into any HTML page, React, Vue or Svelte app:
<iframe src="https://explodeview.com/s/<your-model-id>" width="100%" height="600" frameborder="0" allow="xr-spatial-tracking" allowfullscreen></iframe> -
Tune the embedToggle Auto-rotate on load, Start exploded, or Minimal UI (hides the toolbar) before copying — or generate a QR code instead for print materials.
BOM + technical drawings
Get a parts list and a print-ready 4-view drawing straight out of the loaded model.
-
Open the Bill of MaterialsExport tab → BOM. Every sub-assembly is a row, with its part count and a Draw link.
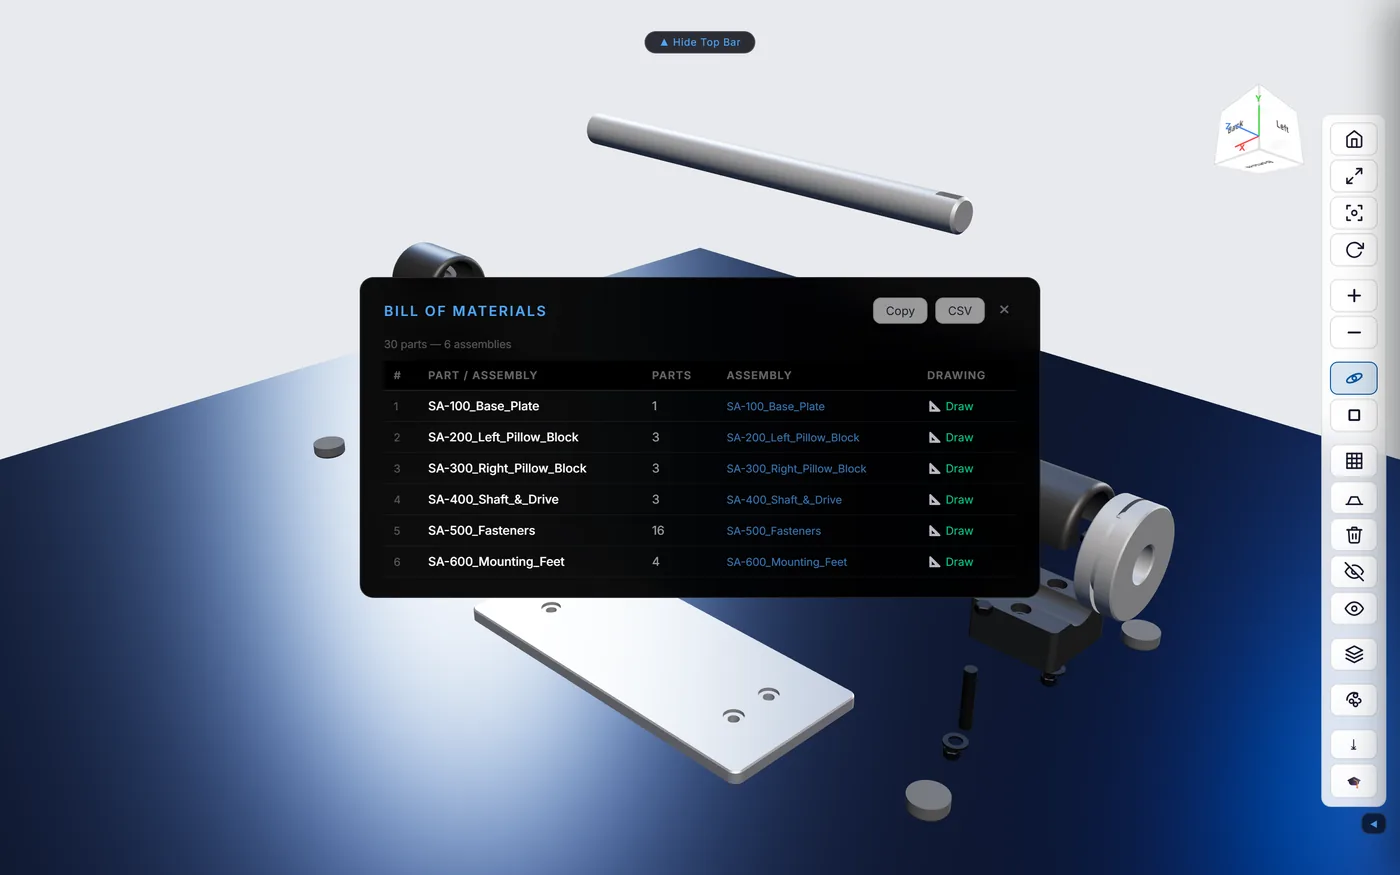
Bill of Materials — Copy or CSV. -
Export itCopy puts it on your clipboard as text; CSV (or Export tab → CSV) downloads a spreadsheet-ready file. Cost, next to it, runs a rough per-part cost estimate.
-
Generate a technical drawingCreate tab → Drawing. ExplodeView renders Front, Right, Top and Isometric orthographic views and downloads a self-contained HTML file with a title block.
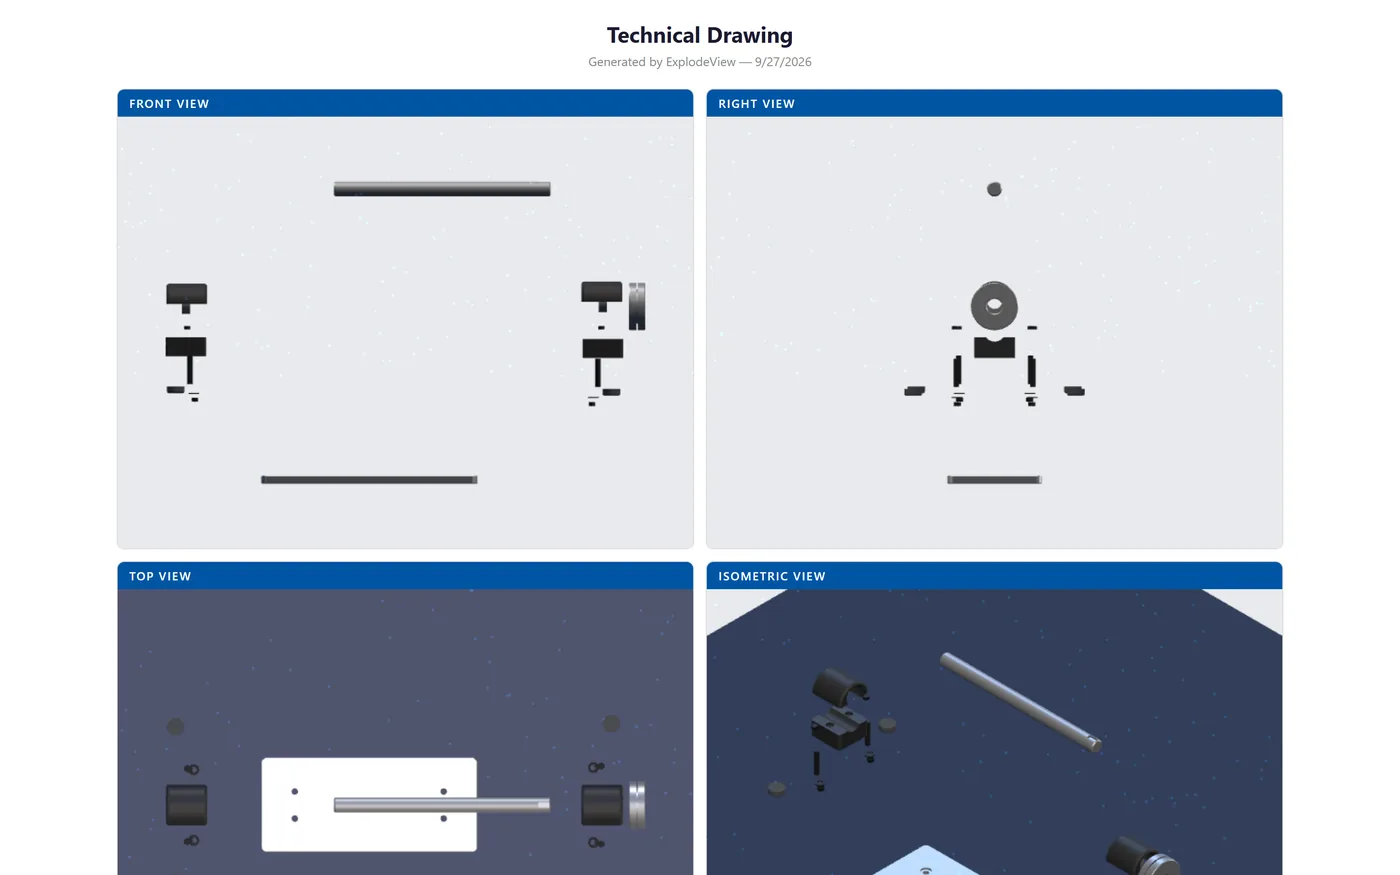
4-view technical drawing, generated in one click. -
Need a specific part's drawing instead?Select it in the tree, then use the tree panel's own drawing controls at the bottom — choose a size (A4–A0, Letter) and format (PNG/PDF/TIFF/DXF) before generating.
Install + activate the desktop app
Run ExplodeView Pro standalone — no trial timer, no 40 MB cap.
-
DownloadGo to the download page and pick Windows, macOS (Intel or Apple Silicon) or Linux.
-
InstallWindows: if SmartScreen warns the app isn't recognized, click More info → Run anyway (the installer isn't code-signed yet).
macOS: right-click the app in Finder and choose Open the first time (unsigned build blocks a normal double-click once).
Linux:chmod +x ExplodeView-Pro-*.AppImage, then run it. -
ActivateOn first launch, paste your license key (from your order confirmation email) into the activation window and click Activate.
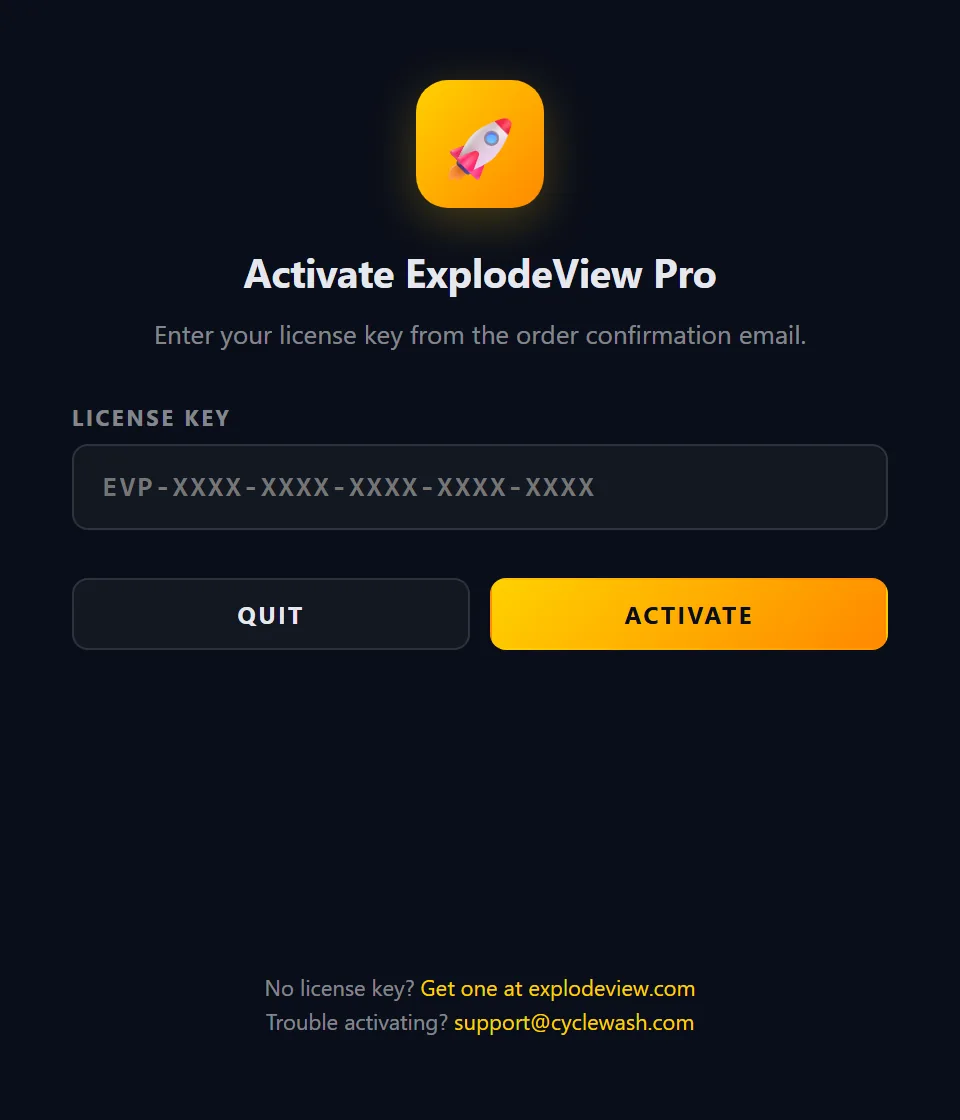
One key activates up to 3 machines. -
Import without limitsThe desktop app converts large files (100 MB+) locally via a Docker-based converter instead of the browser's 40 MB-capped WASM path — install Docker Desktop once and ExplodeView starts the converter for you on import.